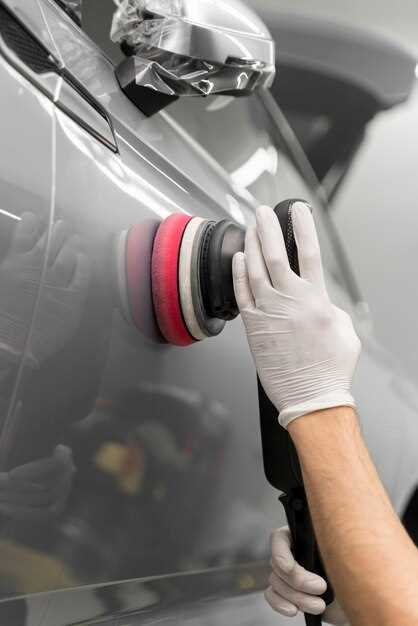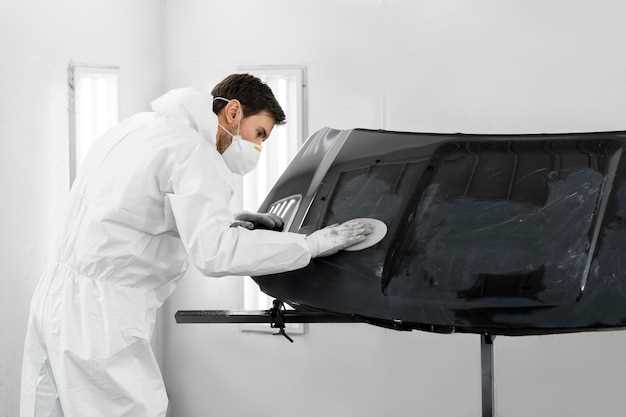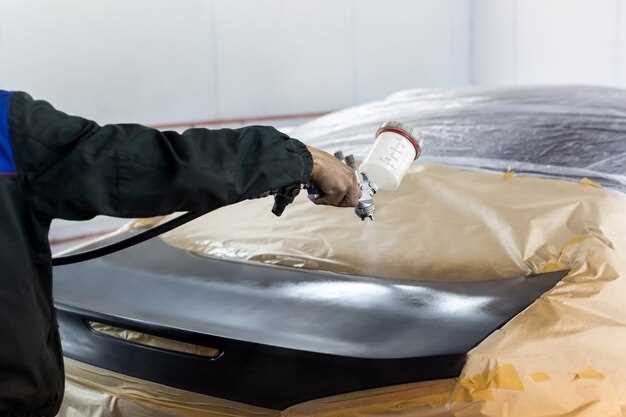

Maintaining the pristine condition of your vehicle’s paint is essential for both aesthetic appeal and resale value. One of the most effective ways to ensure that your car’s exterior remains protected is through the use of high-quality products designed specifically for paint protection. Among the various options available, wax stands out as a popular choice among car enthusiasts and casual drivers alike.
The primary function of wax is to create a protective barrier against various environmental contaminants. This includes dirt, UV rays, bird droppings, tree sap, and other agents that can damage your car’s finish over time. By applying wax to your vehicle, you not only enhance its shine but also provide a layer of protection that repels these harmful substances.
In addition to traditional wax products, advancements in technology have introduced synthetic sealants and ceramic coatings which offer longer-lasting protection. These alternatives often provide enhanced durability and resistance to scratches and chemicals, making them an appealing option for those seeking the best protection for their car’s paint. In this article, we will explore some of the top products available on the market, helping you choose the right solution for effective car paint protection.
Choosing the Right Wax for Long-Lasting Shine

Selecting the appropriate wax is crucial for maintaining the protection and appearance of your car’s paint. A quality wax not only enhances shine but also creates a barrier against environmental contaminants. When choosing wax, consider the type of paint on your vehicle, as certain formulations work better with specific finishes.
Natural vs. Synthetic Wax – Natural waxes, like carnauba, provide a warm, deep shine and are biodegradable. However, they may require more frequent application to maintain protection. Synthetic waxes, on the other hand, often offer longer-lasting durability and resistance to harsh weather conditions. They create a slick surface that repels dirt and grime.
Application Method – Wax comes in various forms: paste, liquid, and spray. Paste wax generally offers the best protection and shine but may require more effort to apply. Liquid wax is easier to use, with good results for both application and finish. Spray wax provides convenience for quick touch-ups but may not deliver comprehensive protection on its own.
UV Protection – Look for waxes that include UV blockers. They protect your paint from sun damage and fading, extending the life of your car’s finish. This protection is essential for those living in sunny climates where UV exposure can be intense.
Application Frequency – Plan your waxing schedule based on product longevity. High-quality wax can last several months, but harsh conditions, such as road salt or bird droppings, may necessitate more regular applications. Always clean your car before applying wax to ensure a smooth and effective finish.
Choosing the right wax is vital for achieving a long-lasting shine while safeguarding your car’s paint. With the right product, you can enjoy a stunning appearance and effective protection for your vehicle.
Benefits of Ceramic Coatings vs. Traditional Wax

Ceramic coatings offer superior paint protection compared to traditional wax. One of the main advantages is durability; ceramic coatings can last several years, while wax typically needs to be reapplied every few months. This long-lasting protection means less maintenance for car owners.
Another benefit of ceramic coatings is their resistance to environmental contaminants. They provide a strong barrier against UV rays, bird droppings, tree sap, and harsh chemicals, which can damage the paint over time. Traditional wax lacks the same level of resistance, making vehicles more vulnerable to these harmful elements.
Ceramic coatings also enhance the vehicle’s appearance by providing a high-gloss finish that lasts longer than wax. This glossy layer helps the paint reflect light more effectively, making the car look newer for an extended period. Wax can lose its shine relatively quickly, particularly when exposed to the elements.
Additionally, ceramic coatings are easier to clean. Their hydrophobic properties allow water to bead up and roll off, carrying dirt and grime with it. This means less effort is required to wash the car and maintain its appearance. In contrast, waxed surfaces may attract dirt more readily, resulting in more frequent and strenuous cleaning sessions.
Overall, while traditional wax has its merits, ceramic coatings provide advanced and effective paint protection, durability, and maintenance benefits that are difficult to match.
Step-by-Step Guide to Applying Paint Protection Film
Applying paint protection film (PPF) is an essential process to keep your car’s exterior safe from scratches, chips, and other damages. Follow this detailed guide to ensure a successful application.
Step 1: Gather Your Supplies
Before starting, collect all necessary materials: high-quality paint protection film, a utility knife, a squeegee, a spray bottle with soapy water, a microfiber towel, and a heat source such as a heat gun or hairdryer.
Step 2: Clean the Surface
Thoroughly wash the car’s surface with soap and water to remove dirt and debris. After washing, dry the area completely with a microfiber towel. A clean surface is crucial for proper adhesion.
Step 3: Measure and Cut the Film
Carefully measure the area where you want to apply the film. Use a utility knife to cut the film into appropriately sized pieces, allowing some overlap for adjustments.
Step 4: Prepare the Surface
Spray a light mist of soapy water onto the area where the film will be applied. This helps lubricate the surface, allowing for easy positioning of the film without damage.
Step 5: Position the Film
Remove the backing from the film and carefully position it over the wet area. Ensure that the film is aligned properly before making any final adjustments.
Step 6: Secure the Film
Using a squeegee, gently press the film down, starting from the center and working your way outwards. This technique helps eliminate air bubbles and ensures even adhesion.
Step 7: Trim Excess Film
Once the film is secured, use the utility knife to trim any excess material along the edges for a clean finish. Be cautious to avoid scratching the paint underneath.
Step 8: Apply Heat (Optional)
If necessary, use a heat gun or hairdryer on a low setting to gently heat the film. This helps conform the film to any curves on the car’s surface, enhancing adhesion.
Step 9: Allow for Curing
Let the film cure for at least 24 hours without exposure to water or extreme temperatures. This step ensures that the adhesive sets properly, providing maximum protection.
Step 10: Final Inspection
After the curing period, inspect the film for any bubbles or imperfections. If any air bubbles are present, use a pin to prick them and smooth them out with the squeegee.
To maintain the longevity of your paint protection film, consider applying a high-quality wax over it. This additional layer can enhance shine and provide extra protection against the elements.


