
When it comes to DIY maintenance of your vehicle, one of the most crucial tasks is ensuring that your brake system is functioning properly. Over time, air can become trapped in the brake lines, leading to a spongy brake pedal feel and impaired braking performance. Knowing how to bleed your brake lines is essential for maintaining the integrity of your braking system.
This guide will walk you through the process of bleeding brake lines, step by step. With just a few simple tools and a bit of patience, you can alleviate the problem of air in your brake lines and enhance your vehicle’s safety. Understanding this process not only empowers you to perform essential vehicle maintenance but also helps you save money on potential mechanic costs.
Throughout this article, you’ll find detailed instructions on each phase of the bleeding process, as well as vital tips to ensure that the job is done correctly. By following this step by step guide, you’ll gain the confidence to maintain your brake lines effectively, ensuring a safer driving experience for yourself and your passengers.
Gather Necessary Tools and Materials for Brake Line Bleeding

Before embarking on a diy brake line bleeding project, it is essential to assemble the right tools and materials. Proper preparation ensures a smoother maintenance process and effective results.
1. Brake Bleeder Kit: Invest in a quality brake bleeder kit, which typically includes a vacuum pump and various fittings. This tool is crucial for effectively removing air bubbles from the brake lines.
2. Brake Fluid: Ensure you have the correct type of brake fluid for your vehicle. Refer to your owner’s manual for specifications. Using the right fluid prevents damage to the braking system.
3. Wrenches and Socket Set: Gather a set of wrenches or sockets to loosen and tighten the brake bleeder screws. Make sure they fit properly to avoid stripping the fasteners.
4. Clear Plastic Tubing: Use clear plastic tubing to connect the brake bleeder screw to a collection container. This allows you to visualize any air bubbles that may escape during the process.
5. Catch Container: Prepare a container for catching the old brake fluid and air bubbles. This helps maintain a clean workspace and prevents spills.
6. Rags and Gloves: Have plenty of rags on hand for quick clean-ups, and wear gloves to protect your skin from brake fluid, which can be corrosive.
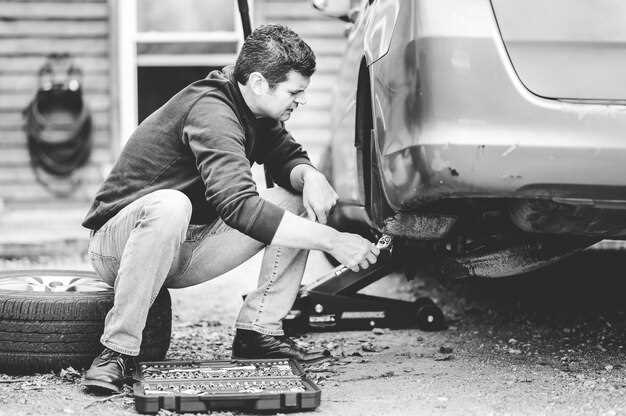
7. Jack and Jack Stands: A hydraulic jack and jack stands are necessary for lifting your vehicle safely and securely so you can access the brakes.
By gathering these tools and materials ahead of time, you’ll be well-prepared to bleed your brake lines, ensuring safe and efficient maintenance of your vehicle’s braking system.
Identify the Correct Bleeding Order for Your Vehicle’s Brake System
When performing diy brake maintenance, one of the most critical steps is identifying the correct bleeding order for your vehicle’s brake system. Using the correct sequence ensures that air is effectively removed from the brake lines, which is vital for optimal brake performance.
The typical bleeding order generally starts with the brake farthest from the master cylinder and moves towards the closest. Most vehicles adhere to the standard sequence of driver’s side rear, passenger side rear, driver’s side front, and passenger side front. However, it is essential to consult your vehicle’s service manual for the specific order, as variations may exist among different makes and models.
Here are some common bleeding orders based on brake setups:
- For most vehicles:
- Left rear
- Right rear
- Left front
- Right front
- For vehicles with rear disc brakes:
- Right rear
- Left rear
- Right front
- Left front
Always start bleeding from the brake line that is furthest from the master cylinder. This method helps to push air bubbles through the system effectively, leading to a firmer brake pedal once complete. Performing this task efficiently will enhance your vehicle’s braking performance and contribute to your overall safety on the road.
In conclusion, a systematic approach to bleeding your brakes is crucial. Make sure to verify the correct order for your specific vehicle as per the maintenance guidelines, ensuring a reliable and safe braking system.
Perform the Bleeding Process and Check for Air Bubbles Properly

To successfully bleed the brake lines, it’s essential to follow a structured approach to ensure that no air bubbles remain in the system. Air trapped in brake lines can lead to a spongy brake feel and decreased braking efficiency.
Begin by gathering all necessary tools: a brake bleeder kit, a clear plastic tube, and a catch container. Ensure that the vehicle is securely lifted, and the wheels are off the ground, allowing for easy access to the brake calipers.
Step 1: Position Yourself Appropriately
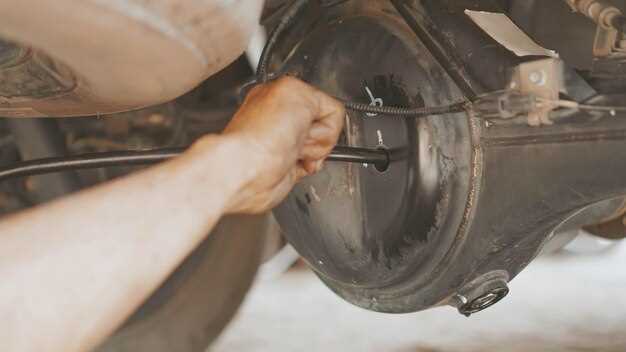
Locate the brake bleeder valve on each brake caliper. Start from the wheel farthest from the master cylinder–usually the rear passenger wheel. Attach the clear plastic tube to the bleeder valve and place the other end in the catch container to capture any brake fluid.
Step 2: Open the Bleeder Valve
Ask an assistant to press the brake pedal slowly and firmly. While they do this, use a wrench to loosen the bleeder valve slightly. You should observe brake fluid flowing through the tube. Keep an eye on the fluid; if it appears bubbly, this indicates the presence of air.
Step 3: Monitor Fluid and Repeat
Close the bleeder valve while your assistant continues to hold the brake pedal down. This action prevents air from being sucked back into the lines. After closing the valve, instruct your assistant to release the brake pedal slowly. Repeat this process until the fluid runs clear and consistent, with no bubbles present.
Step 4: Check for Air Bubbles
Before moving to the next wheel, ensure that all visible air bubbles have dissipated from the tubing. If bubbles persist, continue the bleeding process until a steady stream of fluid is achieved. This step is crucial for maintaining brake integrity.
Step 5: Patience is Key
Completing the bleeding properly may take several attempts. Always keep an eye on the brake fluid reservoir, as it can drop during this process. Refill as necessary to prevent introducing more air into the system.
Finally, once the fluid appears clear and free of bubbles in each line, you can move to the next wheel, repeating the process until all four brake lines are fully bled. After completion, pump the brake pedal to check for a firm feel before driving the vehicle.


