


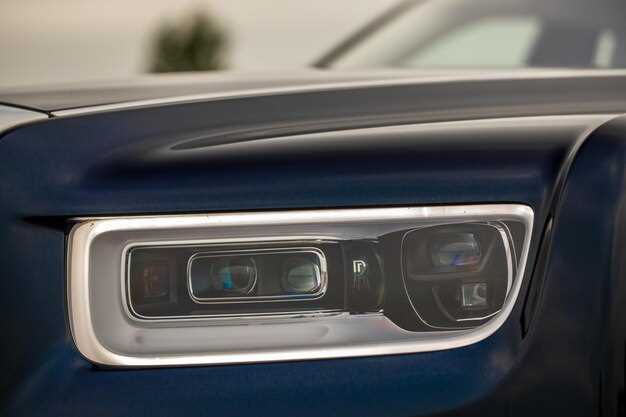
Are your vehicle’s headlights not providing the bright illumination you need for safe driving at night? It’s time to consider upgrading to LED lights. LED headlights are known for their energy efficiency and longer lifespan compared to traditional halogen bulbs. They not only enhance visibility on the road but also give your vehicle a modern look.
The transition to LED lights may seem daunting at first, but the process is quite straightforward. With just a few simple steps, you can completely transform your vehicle’s lighting system. In this guide, we’ll walk you through everything you need to know, from selecting the right LED headlights to the installation process.
By following these simple steps, you can ensure that your headlight upgrade is not only successful but also enhances your driving experience significantly. Get ready to enjoy brighter, more efficient lighting that will keep you safe on the road at any time of day or night.
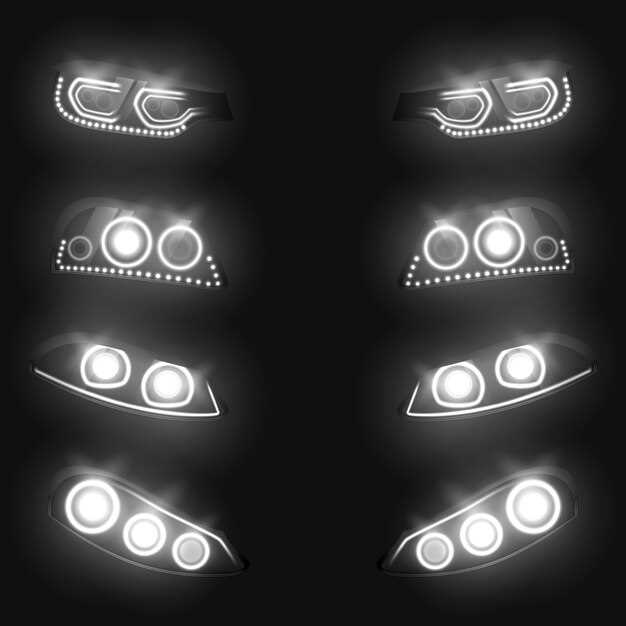
Choosing the Right LED Headlights for Your Vehicle
When upgrading your vehicle lights, choosing the right LED headlights is essential for optimal performance and safety. The process of selecting suitable headlights involves several key factors.
- Compatibility: Ensure that the LED lights are compatible with your vehicle’s make and model. Refer to your owner’s manual or online resources to find the right specifications.
- Brightness: Look for LED headlight options that offer adequate lumen output. Higher lumens can provide better visibility during nighttime driving, but balance brightness with how it affects oncoming traffic.
- Color Temperature: The color temperature of LED headlights is measured in Kelvin (K). Choose a range between 5000K to 6000K for a bright, white light that closely resembles daylight.
- Beam Pattern: The beam pattern is crucial for effective illumination. Select headlight units that provide a focused beam without excessive glare for other drivers. Look for products that specify a good beam pattern.
- Durability: Opt for LED headlights that are built to last. Look for features like waterproof ratings and heat dissipation mechanisms to ensure long-term performance.
When you are ready to swap your old headlights for new LED ones, ensure that you also consider:
- Installation Method: Some LED headlights are designed for easy installation, while others might require professional assistance. Determine your comfort level with DIY projects before making a decision.
- Brand Reputation: Research different brands and their products. Read reviews and consider recommendations to choose reliable LED headlights.
- Price Range: Set a budget that considers both initial costs and potential long-term savings, as LED headlights often have longer lifespans than conventional bulbs.
By carefully evaluating these aspects, you can effectively choose the right LED headlights for your vehicle, ensuring a safe and enhanced driving experience.
Step-by-Step Guide to Installing LED Headlights
Upgrading your vehicle’s headlights to LED can significantly improve visibility while driving. This guide will provide you with clear instructions to swap your traditional headlight bulbs for high-quality LED lights in a few simple steps.
Step 1: Gather Necessary Tools and Materials
Before starting the installation, ensure you have the following tools on hand: a screwdriver, gloves, and the new LED headlight bulbs compatible with your vehicle. Refer to your owner’s manual for specific bulb sizes.
Step 2: Prepare Your Vehicle
Park your vehicle on a flat surface and turn off the ignition. This is crucial to avoid any electrical hazards while handling headlight components.
Step 3: Access the Headlight Assembly
Open the hood of your vehicle. Locate the headlight assembly, which is typically secured by clips or screws. Remove any obstructions that may hinder access to the headlight housing.
Step 4: Remove the Old Headlight Bulb
Carefully disconnect the wiring harness from the back of the old bulb. Depending on your vehicle, you may need to twist or pull to release the bulb from its socket. Handle the old bulb with care, as it may be fragile.
Step 5: Install the LED Headlight
Take the new LED headlight bulb and insert it into the socket. Ensure that it fits securely. Reconnect the wiring harness, making sure it clicks into place. Avoid touching the LED bulb with your bare hands, as oils from your skin can damage it.
Step 6: Test the New Lights
Before reassembling everything, turn on your vehicle’s lights to test the new LED installation. Check that both the low beam and high beam functionalities work properly.
Step 7: Reassemble the Headlight Assembly
If the new LED lights are functioning correctly, proceed to secure the headlight assembly back in place. Reattach any screws or clips you removed earlier.
Step 8: Final Checks
Close the hood of your vehicle and take a moment to evaluate the brightness and alignment of your new headlights. If necessary, adjust the headlight aim to ensure optimal performance while driving at night.
Following these steps will ensure that you successfully swap your old headlight bulbs for LED lights, enhancing your driving experience with improved visibility and safety.
Common Issues and Solutions When Swapping Headlights
When you decide to swap your vehicle’s headlights for LED lights, several common issues may arise. Understanding these challenges and their solutions can facilitate a smoother transition to brighter and more efficient lighting.
1. Compatibility Issues
One of the first hurdles is ensuring that the LED lights are compatible with your vehicle. Not all LED bulbs fit every make and model. To avoid this, check the specifications of your current lights and compare them with the LED options available. Consulting your vehicle’s manual or contacting the manufacturer can provide clarity.
2. Flickering Lights
If your new LED lights flicker after installation, it may be due to insufficient power supply or compatibility with the vehicle’s electrical system. Installing a CANbus decoder or an anti-flicker harness can resolve this issue by ensuring stable voltage supply and preventing flickering.
3. Overheating
LED lights generate less heat than traditional bulbs, but poor installation or the wrong type of LED can lead to overheating. Ensure that the heat sinks are installed correctly and that air circulation is not obstructed. Selecting high-quality LED lights with built-in thermal management systems can help mitigate this problem.
4. Beam Pattern Issues
Improper installation may affect the beam pattern and direction of your headlights, leading to poor visibility and potential glare for oncoming drivers. Before finalizing the installation, test the lights to ensure they are correctly aimed. Adjustments may be necessary based on the specific model of your vehicle.
5. Warning Lights on Dashboard
Swapping traditional headlights for LEDs can sometimes trigger warning lights on the dashboard. This occurs due to a change in the electrical load. To fix this problem, using a resistor or load equalizer can balance the electrical load and eliminate warning signals.
By being aware of these common issues and their solutions, you can successfully swap your vehicle’s headlights to LED and enjoy improved visibility while driving safely.


